Q: One of my residents is requesting a grab bar for the shower or tub. What do I need to get and how do I install it safely?
A: This is a subject that is surfacing more and more as our residents are getting older. The use of handrails and safety bars help provide stability and extra support required by the elderly and people with limited mobility. Shower and bathroom safety grab bars are available in a wide variety of configurations, colors and finishes. The most common is the stainless steel or chrome finish.
Installation of grab bars must be done securely. The bars must be able to support a dead weight pull of 250 pounds. The preferred method is to bolt directly into the wall studs. This is not always practical, as the stud might not line up where the bars are needed. Because horizontal installation can be difficult because of a mismatch between the bar size and the spacing of studs, grab bars can alternatively be mounted vertically or at an angle. If finding studs becomes a problem, alternate installation methods are available. If your walls are in good condition and have not been compromised by water intrusion, you may use large toggle bolts or, if you have access to the back side of the shower or bath walls, insert a backer plate or add a new stud for an anchor point. Safety grab bars can be found at any local hardware store.
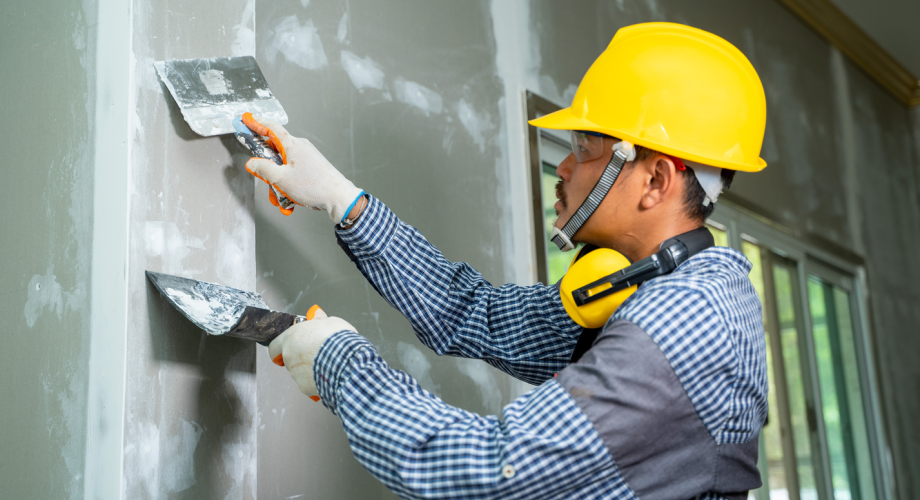
Q: I’m about to start a rehab project in one of my apartments. Can you give me some tips on drywall repairs? The previous residents were very hard on the walls, and I want to learn how to do the repairs.
A: If there are holes in the drywall, you can use mesh drywall patches (available at any hardware store) and drywall mud to do the rough repair. If the holes are larger than six inches in diameter, cut the damaged area out. Cut out enough material to reach a stud on either side of the repair (a square hole is best). Cut a new piece of drywall and nail or screw it into place using the exposed stud on either side. After completing the rough drywall repairs, then comes the finish work. Use wallboard joint compound and joint tape on all seams, nail or screw holes and corners. Joint compound can be found at any hardware store and comes in quart, gallon and five-gallon buckets ready mixed. Plan on applying three coats of compound material, letting it dry between coats. When doing repairs to joints or cracks, be sure to use wallboard tape to reinforce the joint. The tape comes in paper or fiberglass and will ensure the joint will not crack in the future. Using a 10-inch taping knife, apply a thin layer of joint compound. Then, immediately press the joint tape into the compound and use a four-inch taping knife to smooth out the tape and let dry. Again, using your 10-inch knife, apply another layer of joint compound over the tape and let dry. Finally, apply the finish layer of compound and let dry. Use sandpaper or a wet sanding sponge and sand the joint until it is smooth. After all is dry, texture to match surrounding walls.
Do you have DIY maintenance questions? Send them to [email protected].