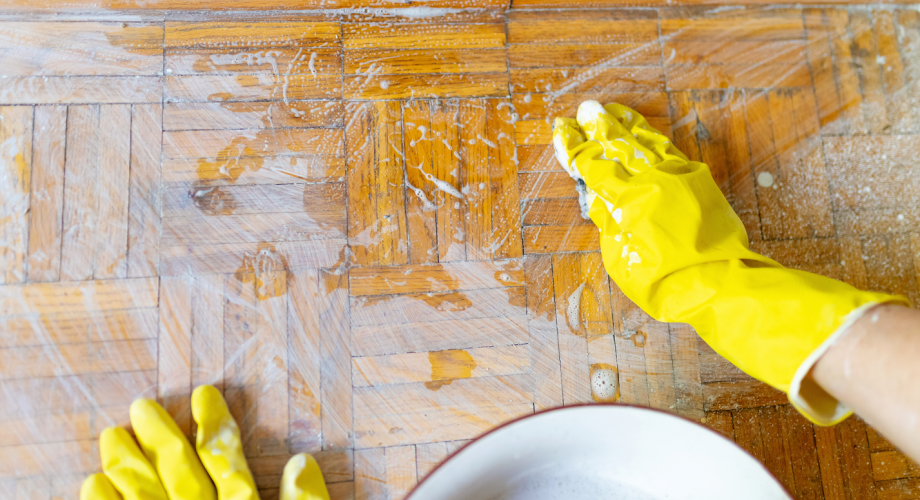
Q: What is the best way to clean hardwood floors after a resident moves out?
A: As you might guess, water is the enemy of hardwood floors. Water can damage wood floors and may cause staining, cupping, expansion and separation. Certain cleaning items to avoid are wet mops, ammonia and floor cleaning products not meant for wood floors. It is important to determine which clear finish was used on your wood floors as a protective coating, whether it’s penetrating oils, lacquer, polyurethane or other coating. Each finish will dictate a specific solvent or cleaning product.
Most wood floors can be cleaned and maintained by first vacuuming dirt and debris from the floor, then finishing with a soft natural brush or broom to remove dust and residual dirt. If the floor needs deeper cleaning, determine the finish used on your floor and visit a wood floor dealer or home center that sells wood flooring. They will carry cleaning products for wood floors and can help you determine a proper cleaning procedure.
Q: I have just installed a new garbage disposal and now my dishwasher won’t drain. I hooked everything back up the same as before. What did I do wrong?
A: This mistake is surprisingly common. Luckily, it has a simple and cheap solution. Look under the sink and find where the dishwasher’s drain line hooks up to the garbage disposal. It is typically a three-quarter-inch rubber or plastic line. Undo the hose clamp at the disposal end of the line and temporally remove it. Now, take a big, long, flat screwdriver and insert it into the garbage disposal nipple where you just removed the rubber drain line. The screwdriver will stop about two inches in and hit the drain knockout. Use a hammer and gently hit the screwdriver until the knockout breaks open. Remember to retrieve the knockout from inside the garbage disposal. Now, reassemble the dishwasher drain line to the garbage disposal, tighten the hose clamp and run your dishwasher through one cycle. Check for leaks and proper operation of the dishwasher. Everything should work just fine.
Q: The angle stop valves under the kitchen sink are very hard to close. I attempted to replace the valves but could not remove the brass collar around the copper pipe. The new angle stop valves do not thread up and the old nut is trapped behind the collar. What can I do? Also, how often should I replace my under-sink water flex lines?
A: On the first question, it is always best to remove the old collar. That is easier said than done. The collar is too tight to pull off with your fingers. Pliers will damage your soft copper pipe and cutting the line behind the collar is OK if you have enough pipe to spare. However, in most cases, the space is limited and cutting the line won’t work. The hardware or plumbing store sells a compression sleeve puller ($20 or less) designed for this job and it will not damage your pipe. You can now install your new angle stop valve.
An alternative once you remove the collar is to solder a male or female half-inch fitting to the end of the copper pipe. Install a male or female angle stop valve and never again deal with a stubborn brass collar. If you ever need to replace the valve, just twist it off and install a new one. We also recommend that you install “quarter-turn ball valves” when replacing the old angle stop valves. The ball valves are less susceptible to sticking in the open position after many years of use.
On your second question about replacing under sink water lines, if any of your lines are the white plastic lines, replace them immediately: They are a flood waiting to happen. We like using the stainless-steel braided flex lines. They last a long time and don’t seem as susceptible to fatigue or abuse. A way to spot a bad flex line before they leak or burst is to look for telltale signs of rust, calcium build-up, loose or broken braids, tight kinks, brown spots—or they just look bad. If you are replacing angle stop valves, install new water lines at the same time.
Do you have DIY maintenance questions? Send them to [email protected].
