Squaring Vinyl Floors
Q: I have installed vinyl floor squares several times, but I can’t seem to get it square with the walls. Do you have a procedure on how to start the first tile straight and end up with a square-looking job?
A: First, complete all your floor prep work: Ensure the surface is clean, dry and free from dust and debris. Measure the length and width of the floor, then divide each measurement by two and mark the floor at the intersecting lines. Snap a chalk line along the length and width of the floor, using the previous measurements. This will produce a cross, dividing the floor into quadrants.
Now, check your chalk line for squareness using a carpenter’s square at the intersection of the two lines. Next, dry fit your tile in both directions to determine your run. You should adjust your chalk reference lines to allow for full tiles at high traffic tile termination points such as dining room to kitchen, hallway to bathroom, etc. Ideally, if possible, you will want to use no less than one half of a tile at any wall or termination point.Start your first tile at the cross section of the two chalk lines. This will allow you to use two perpendicular straight lines to align your first tile. Follow each chalk line, putting down tile until you have formed a cross dividing the floor into quadrants. Continue gluing down your tile in each quadrant by going down one axis and across the other.
Replacing a Water Heater Thermocouple
Q: I am having trouble with a 40-gallon water heater in my building’s laundry room. The pilot will not stay lit, or if I do get the pilot lit, it will go out after the first water heating cycle. Is the problem with the thermocouple, and if it is, how do I repair it?
A: When water heaters will not stay lit or will not cycle on and off properly, it is usually the fault of the thermocouple. The thermocouple is a safety device that shuts off the gas supply to the water heater when it senses the pilot flame is out. In your case, the thermocouple itself may have failed, which will trigger the built-in failsafe and shut off the gas supply. Thermocouples are simple devices that are easy to replace. (If you are uncomfortable working on a gas appliance, please contact a plumber or appliance repair professional.) To replace the thermocouple, first, turn off the gas to the heater and let the firebox cool down for 15 to 20 minutes before starting work.
The thermocouple is in the firebox next to or alongside of the pilot assembly. It will be either silver or copper colored and look like a small pencil with a copper tube or wire attached. Unscrew the bracket and slide the thermocouple out of the holder. Now, follow the copper tube or wire to the control valve. Use a small wrench to remove the nut holding the tube in place and remove the thermocouple wire from the control valve. Take the thermocouple to your local hardware or plumbing store and ask for a replacement. They should cost less than $10. To install, just reverse the disassembly procedure. Turn on the gas and re-light the water heater.
Controlling Bathroom Moisture
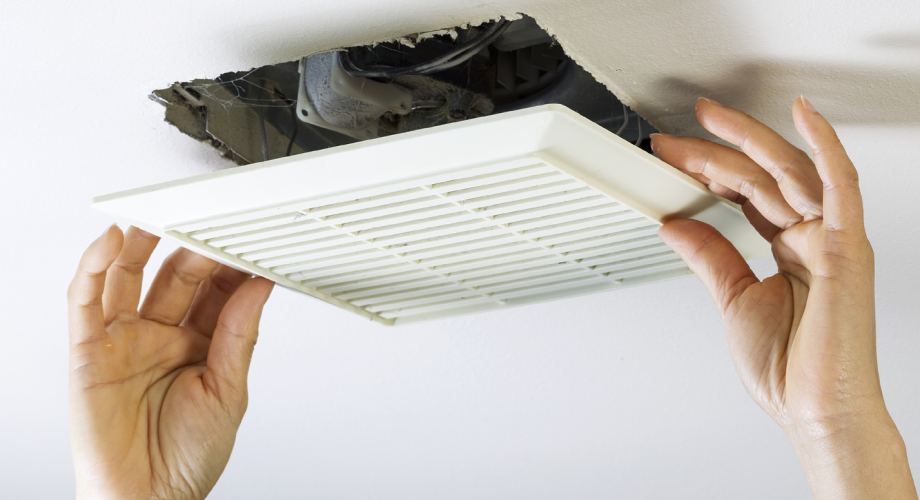
Q: I have windowless bathrooms in my building, and moisture builds up, causing mildew and wall damage in the bathrooms. They do have vent fans, but they don’t seem to do the job. How can I solve this problem?
A: The first thing to check is whether your vent fans are working and not clogged with lint or dust. If the fan is operating properly, check the cubic feet per minute (CFM) of air movement. The minimum number should be 50 CFM. If the bathroom is getting more than the average amount of use, you may want to replace the existing fan with one that has a higher CFM rating. It’s recommended to use at least a 120 CFM fan. And, equally important, many bathrooms have two wall switches: One for the light and the other for the fan. If this is the case, the recommendation is combining the two switches into one. That way, when the resident switches on the light, the fan will automatically come on.
Do you have DIY maintenance questions? Send them to [email protected].
